Braising BDA Grass-Fed Lamb | A Recipe by Zach Smith of Highlands Bar & Grill
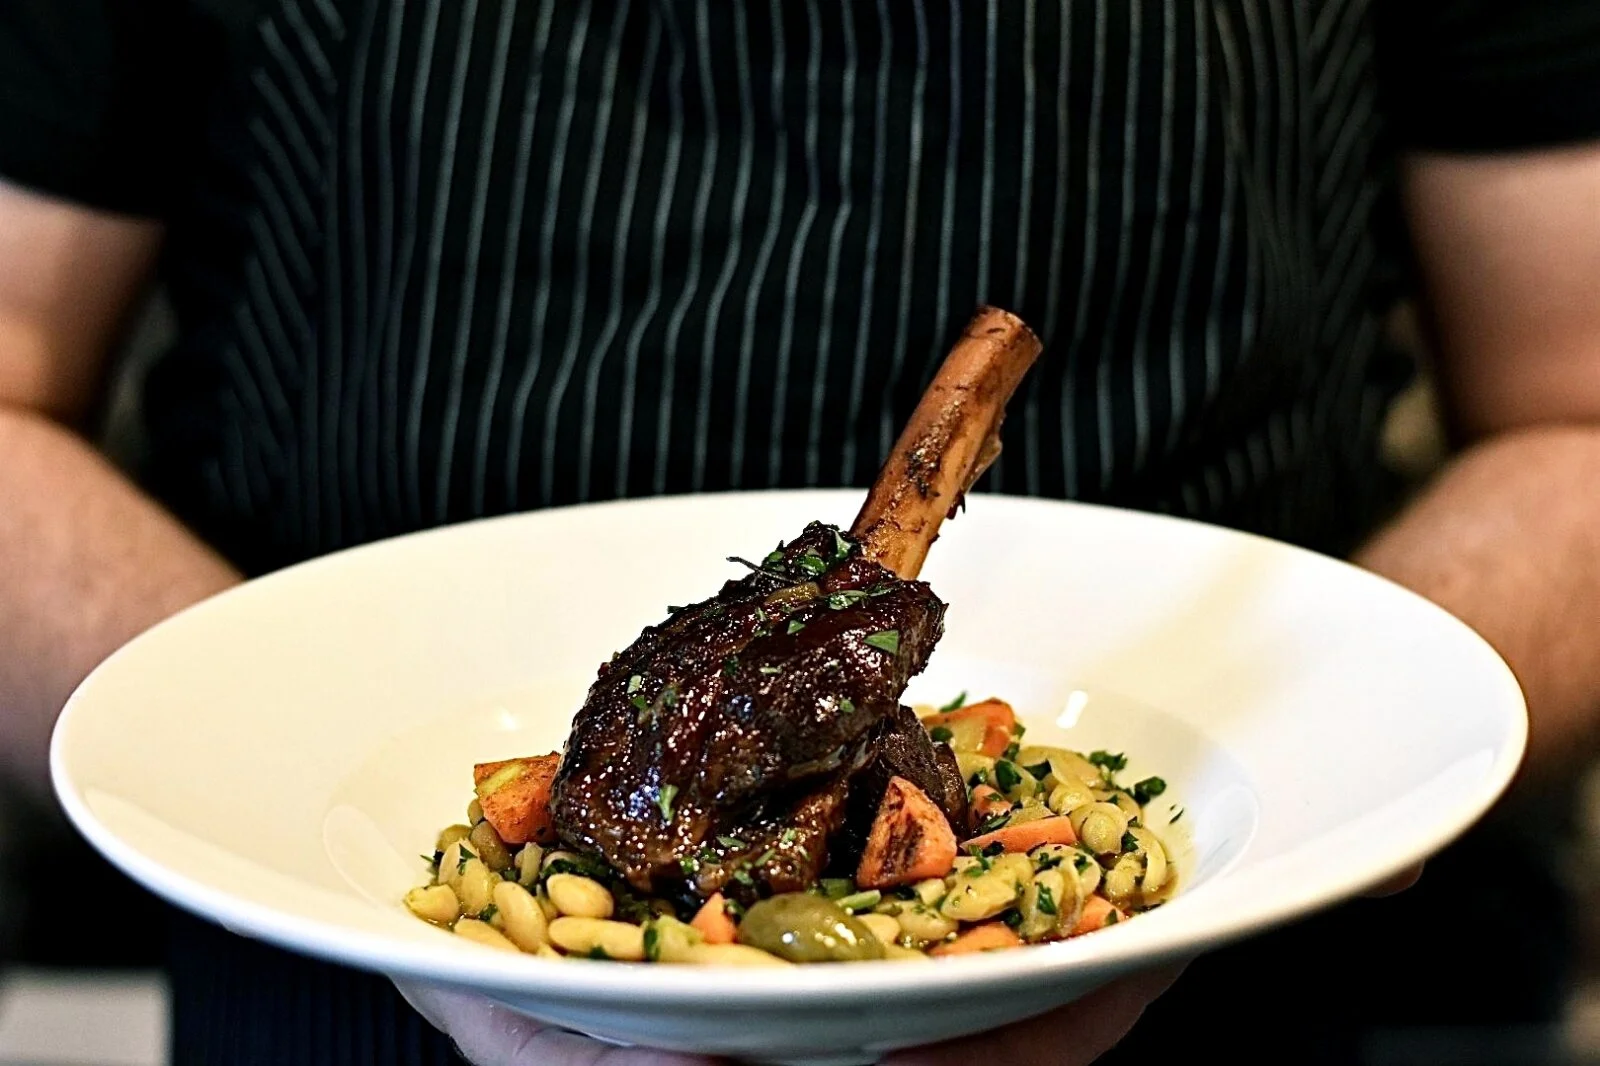
The finished product! Braised lamb shanks by Chef Zach Smith of Highlands Bar & Grill, made using BDA grass-fed lamb
This week on the blog, we’re welcoming a guest author, Zach Smith of Highlands Bar & Grill! Below he’s sharing a recipe on how to braise shanks using our BDA grass-fed lamb. Not only does his recipe provide step-by-step instructions on how to create the dish, he also offers helpful information on why certain steps are important and coaches you through moments where you might doubt the process.
If you’re wanting to test this recipe out at home, you can purchase our lamb shanks and other offerings via our online store!
Get your shanks here or browse the full store here! (Produce, eggs, beef, and more!)
We’re so thankful to Zach for putting together this recipe, as well as to T4 Films for creating the pictures and videos.
Remember to let us know whether or not your at-home creation was a success!
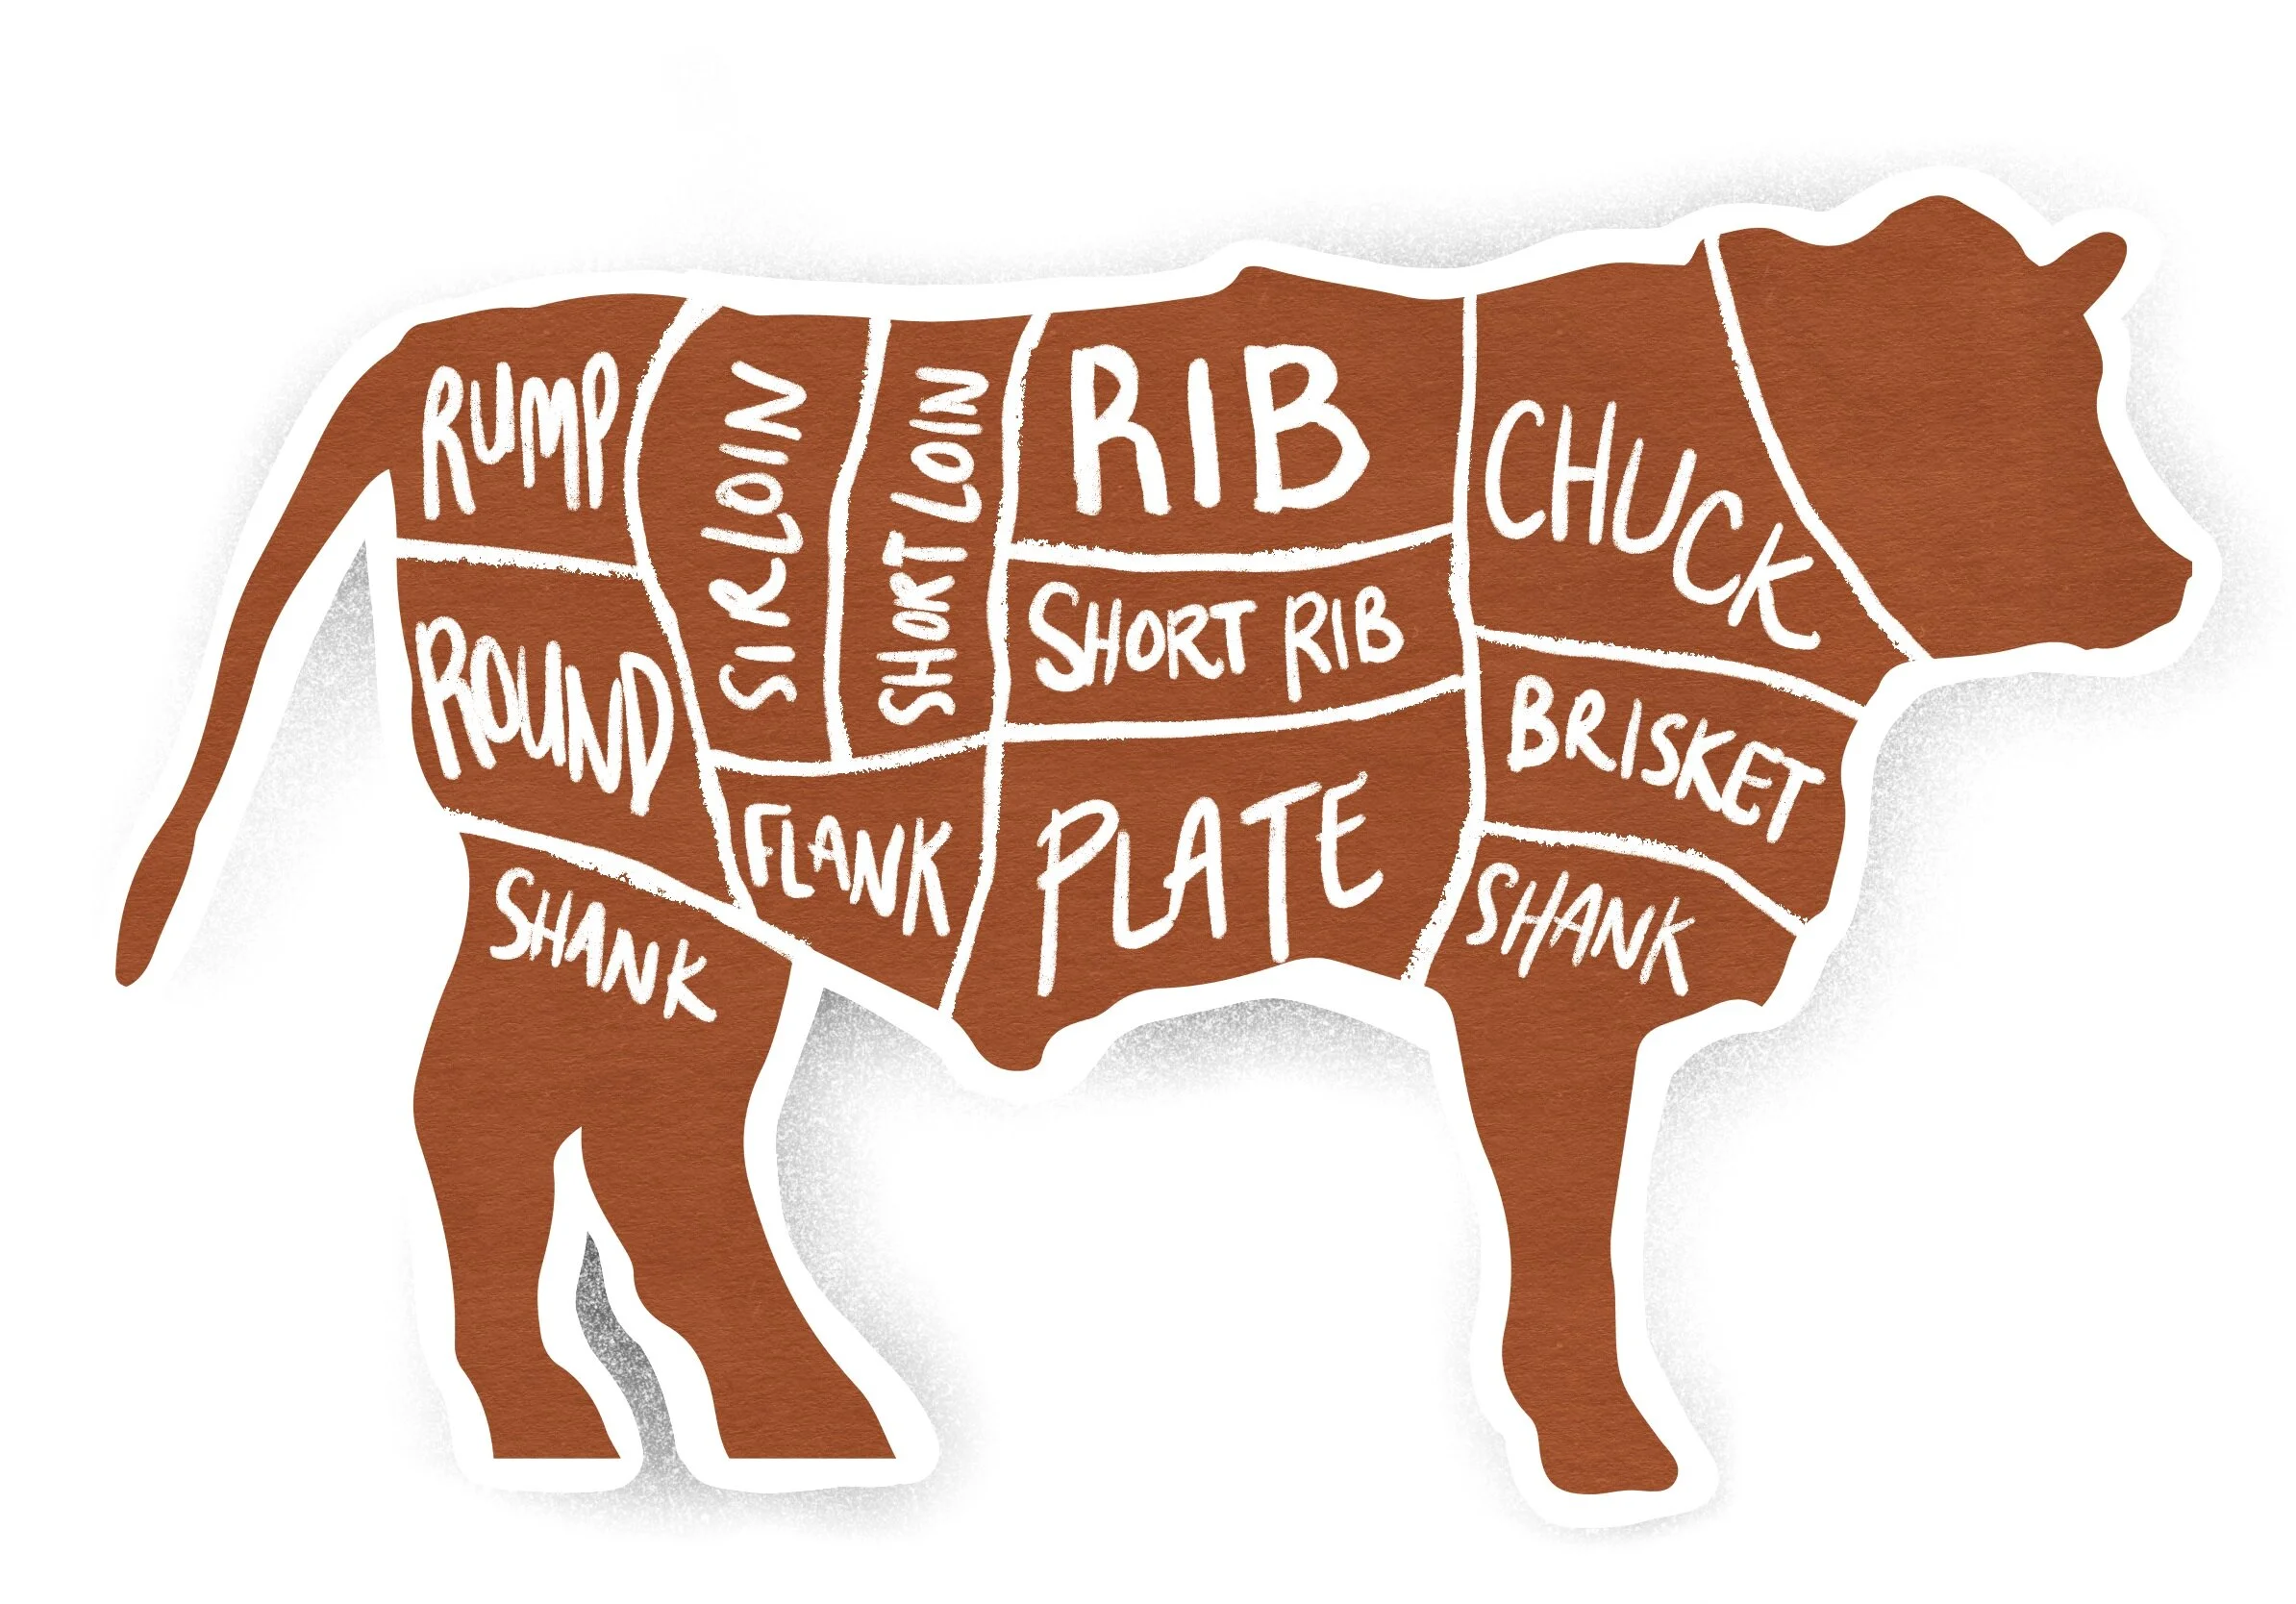
Zach: “I am so excited to be able to work with Bois d’Arc (BDA) farm and their products. The holistic approach to farming that BDA practices produces some of the most flavorful vegetables, and lamb, as you’ll soon see. I was giving a list of not-well-known cuts of lamb to choose from. The first one to catch my attention was the shanks. This is the ankle, if you will, of the animal. It supports most of the animal's weight as it moves constantly through the fields, making it a tough portion of meat. It is best suited for low and slow cooking practices. Braising the shank allows the muscle to slowly break down and any fat to render. It is a technique that harkens back to an older time of life. It will make any meal feel as though it were a grand occasion.
I hope this will make braising a little more approachable and less used cut of meat a staple of our dinner table.”
You can watch the full video HERE.
Red Wine Braised Lamb Shanks
What You’ll Need:
Sunflower oil
1 onion - peeled, halved, and thinly sliced
3 carrots - peeled can cut into ¼ in. slices
4 celery stalks - cut into 1 in. pieces
3 cloves of lightly crushed garlic
1.5 cups of red wine
3 cups of chicken stock
5 sprigs of thyme
1 sprig of rosemary
The peel of half an orange
5 olives
1 tsp of dried thyme
3 bay leaves
Instructions:
Preheat your oven to 310 degrees.
Set a large dutch oven or four quart, heavy-bottomed pan over medium heat. Let the pan preheat for at least 2-3 minutes. This gives the pan a head start so when the meat is added all of the heat is not lost.
Pour in 3 tablespoons of sunflower oil. It doesn't have to be sunflower, but it should be an oil with a high smoke point. Butter or olive oil would burn before the shanks are properly seared.
Add the lamb shanks one at time until all of the pan’s real estate is used. If you can’t fit all four shanks in at once, it’s ok. Just sear them in batches so you don’t overcrowd the pan. Let them sear on each side for 4-5 minutes, or until they take on a dark brown, crispy exterior.
Pull the shanks out of the pan to allow any excess oil to drip off. I like to discard the oil at this point. It is not necessary but it has served its purpose.
Add 3 more tablespoons of sunflower back into the pan and add the onions, celery, carrots, and garlic.
Stirring every few minutes, sauté the vegetables until the onions take on a nice golden hue. This should take 12 to 15 minutes. If the vegetables start to sizzle, hiss, and stick to the bottom of the pan, lower the heat down a couple of notches. Just keep stirring and have faith.
Once the vegetables have been caramelized, deglaze the pan with the red wine. When the wine comes in contact with the hot pan it begins to simmer and evaporate, pulling off the left behind browned bits from the meat and vegetables.
Add the shanks on top of the vegetables and wine.
Cover the shanks three quarters of the way with 3 cups of chicken stock. Store bought is ok but there is no substitution of homemade.
You can now add the aromatics. This is what will give your braise the subtle nuance of flavors it needs to be pushed over the top. You can use whatever you like or what you have on hand. I went with orange peel, olives, fresh herbs, bay leaves and dried thyme.
Allow the pot and all its contents to come to a simmer. Again, this will give the pan a head start when it goes into the oven. Don’t forget this step. It will take much longer to fully break the lamb down if it hasn’t come to a simmer.
Cover the pot with the lid or aluminium foil, and place in the center of your oven for one hour. Don’t even think about opening that door or trying to get a sneak peek. Let the magic happen.
Once an excruciating hour of waiting is over, pull the pan out and remove the lid. Ladle a couple spoonfuls of braising liquids over each piece of meat. Then, return to the oven uncovered for another hour and a half, basting the meat every 30 minutes or so.
By now, your house should be perfumed with the smell of mirepoix, garlic, lamb stock, and orange that you’ll be salivating. When the lamb comes out of the oven it shouldn’t quite literally fall off the bone, but when pressed with a spoon or fork, should easily separate from the bone. That is how you know it is finished.
I had some freshly dried Marcella beans from Rancho Gordo that were slowly simmered in an aromatic liquor then stewed with sweet curry, onions, carrots, and the olives from the braise. Feel free to serve with whatever you would like. A simple, timeless classic is potato puree or creamy grits, and roasted spring vegetables.
I hope this makes the braising process a little more approachable. I encourage you to get out of your comfort zone. Enjoy!
Related Products:
More Stories: